


Flooring Renovation
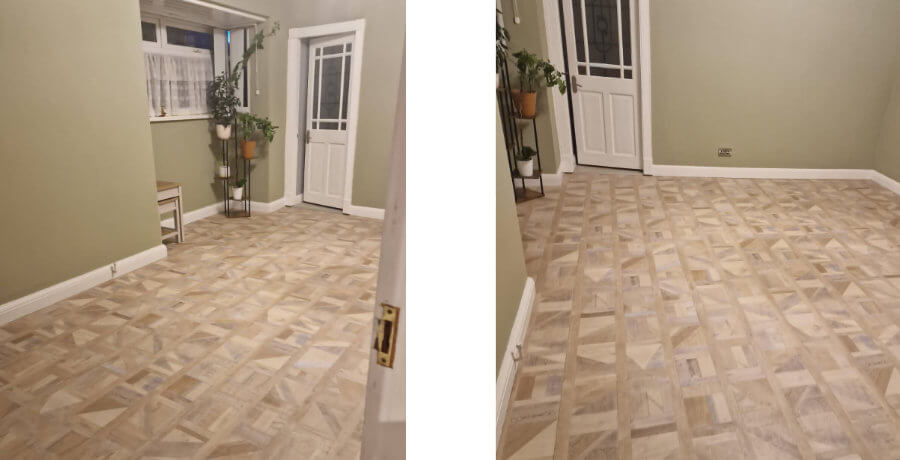
The wall colour is Overtly Olive, and we supplied and fitted the Palace Offcut Art LVT flooring (Lifestyle Floors). The renovation also included the installation of designer Parquet skirting boards in Eggshell White.
Step 1: Remove Old LVT
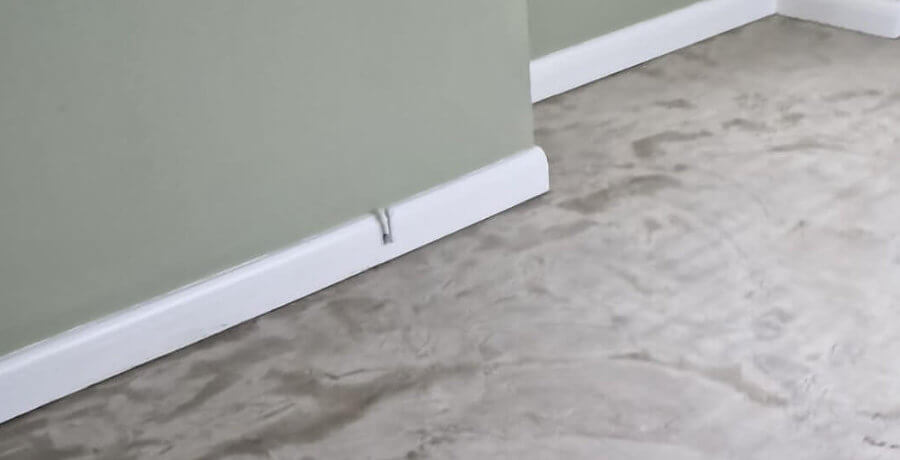
Removing LVT (Luxury Vinyl Tile) in preparation for installing new LVT is relatively straightforward, but as this image illustrates, it can be pretty labour-intensive. It's critical to do this preparatory work thoroughly, as the subfloor's condition impacts the appearance, performance and durability of any new flooring.

Step 2: Remove Obstructions
Before fitting an LVT floor, it's crucial to ensure the surface is clean and clear of any obstructions. Making sure of this means removing any debris, dust, or irregularities that may affect the floor's final finish. A proper subfloor preparation and installation will ensure the longevity and durability of the LVT floor. Once we had removed all the old LVT, we removed any obstructions, including old nails, grease and wood splinters.

Step 3: Vaccum Floor
The next stage of this flooring renovation was to clean the subfloor thoroughly by vacuuming it to remove any debris, dust, or dirt that could get trapped beneath the LVT. Dirt and dust can cause bumps or unevenness. It is best to use a good quality vacuum cleaner with a powerful suction and a crevice tool to clean tight spaces along the edges and corners of the room. Make sure to pay extra attention to areas near the walls where dust and debris tend to accumulate.

Step 4: Feather Screed
The next task was to feather screed on any uneven subfloor areas. This process helps to level out any rough spots and create a smooth surface, ensuring it's suitable for installing the new floor.

Step 5: Apply Adhesive
To ensure a sturdy and long-lasting installation of luxury vinyl, we took the necessary step of applying adhesive to the subfloor. By doing this, we created a powerful bond between the subfloor and the luxury vinyl, which ensures that the luxury vinyl tiles remain securely in place and do not shift or buckle over time. Using a suitable adhesive recommended by the manufacturer further strengthens the integrity of the installation, making it more durable and resistant to wear and tear.
Step 6: Lay Floor
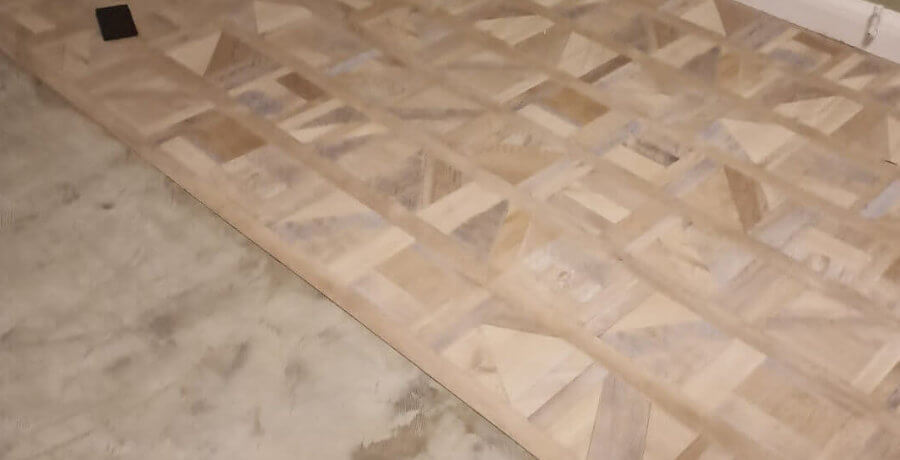
With the subfloor fully prepared, we meticulously laid out the new LVT, paying close attention to the alignment of the individual planks to create a seamless and visually appealing result. The complex nature of the pattern in this particular LVT design necessitated meticulous attention to detail. Every aspect of the design had to be carefully executed throughout the flooring renovation to ensure the final look was of the highest quality.
Step 7: Use Roller
After laying the tiles, it is vital to ensure they are securely in place. We achieve this by rolling over the tiles with a heavy roller. The roller helps to press the tiles into the adhesive, creating a solid bond and preventing them from shifting or becoming loose over time.

After finishing this lounge and hallway flooring renovation, we conducted a final inspection to ensure everything was secured correctly and in place.
The past year has seen us accumulate many more Google reviews. October saw The Carpet Stop receive its 50th consecutive 5-star review. Other stores have seen similar results, which reflects our hard work and commitment to ensuring customer satisfaction.

It's important to note that there are some aspects of flooring installation that we didn't cover in this summary. For instance, it's essential to check the humidity levels and temperature of the room before installation to ensure the best possible outcome. Moreover, LVT tiles or planks should be left in the room to acclimatise before installation.Most LVT flooring manufacturers, like Karndean and Amtico, provide recommendations about the installation and maintenance of LVT. Our experienced flooring installation technicians always follow those guidelines.